How To Install a Wire Suspension Surface Mount
Wire Suspension Surface Mounts are a great option if you are looking to do a floor-to-ceiling or wall-to-wall application. These assemblies come with a decorative surface mount to add a finished look while providing additional support. Wire is secured in place with flat point set screws in the top and bottom connections.

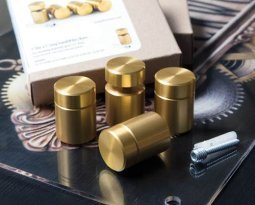
A wire surface mount includes an aluminum base, three zinc-plated oval head screws, a low head socket cap screw, three hex jam nuts, a turnbuckle and a wire connector. This assembly can be used to mount your wire system perpendicular to a surface, as you would in a floor-to-ceiling application. Hinged wire connectors are also available, and will allow you to mount wire systems parallel to a single surface like a wall. Hinges are adjustable, and can be used to create angles from 90 to 180 degrees. A variety of wire connectors can be used in conjunction with this system to attach shelves or panels with clips, caps or grippers.
Let’s get started on how to complete a wire surface mount installation:

Step 1: Once you have your location marked, use a hex key and wrench to make sure the base plate is securely attached with the low head screw and hex jam nut.

Step 2: Align the base plate so that each hole lines up with a pre-drilled pilot hole, and use the three screws to fix the assembly in place.

Step 3: Trim the wire if necessary – it should extend just past the bottom set screw. You’ll want to give yourself room to apply tension by extending the turnbuckle for this step.
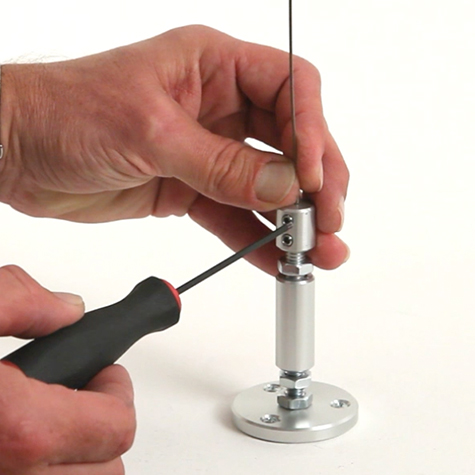
Step 4: Insert the wire into the wire connector. Use a hex key to tighten the top set screw first, then the bottom to hold the wire in place.

Step 5: Tighten the wire by rotating the turnbuckle until the desired tension is achieved.

Step 6: Once you have the appropriate level of tension, lock the turnbuckle in place by tightening the hex jam nut on either end to the turnbuckle. This prevents the turnbuckle from rotating and loosening.
With each end of the wire mounted like this, you’re ready to attach clips, caps or grippers and add your shelves or panels.
You can find product specifications and watch a step-by-step tutorial video here.